QEMU/KVM Virtualization Setup Guide
Quickly set up virtualization on your Linux machine
🚀 Prerequisites
- Linux distribution (Debian/Ubuntu recommended)
- Hardware with virtualization support (Intel VT-x/AMD-V)
- Virtualization enabled in BIOS/UEFI
- Administrative privileges (sudo access)
1 Install QEMU/KVM and Required Packages
First, install all necessary packages with the following command:
sudo apt install qemu-kvm virt-manager virtinst libvirt-clients bridge-utils libvirt-daemon-systemThis installs the core KVM and QEMU packages along with Virt-Manager for GUI management.
2 Enable and Start the Libvirt Service
Enable and start the virtualization daemon:
sudo systemctl enable --now libvirtd && sudo systemctl start libvirtdThis ensures the virtualization services are running and will start automatically on boot.
3 Add Your User to Required Groups
You'll need proper permissions to manage virtual machines:
sudo usermod -aG kvm $USER
sudo usermod -aG libvirt $USERAfter running these commands, you need to log out and back in or completely reboot your system for the group changes to take effect.
4 Launch Virt-Manager and Start Virtualizing
Start the virtual machine manager with:
virt-managerThis will open the graphical interface where you can manage your virtual machines.
To create your first VM, click the "Create a new virtual machine" button (computer icon with a star). Follow the wizard to set up your virtual machine.
Virt-Manager Interface Preview
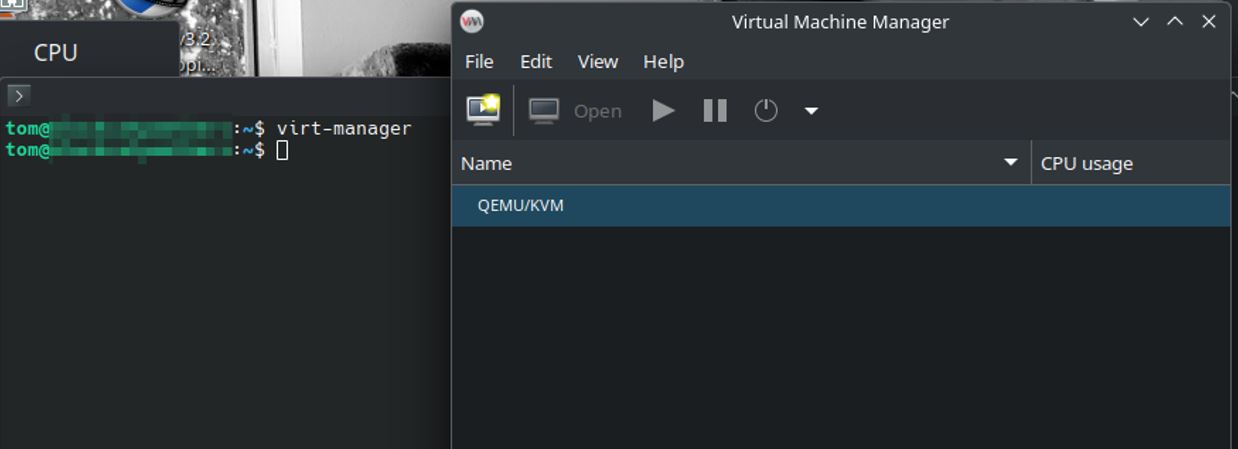
The Virt-Manager interface showing available virtual machines and management options.
Verification (Optional)
You can verify KVM is working properly by running:
kvm-okvirsh list --allThe first command checks if KVM is ready, the second shows all virtual machines (should be empty initially).